
Chipper 3X Quick Start Guide
Portable Payment Acceptance Device - BBPOS
Welcome
Welcome to the Chipper 3X quick start guide.
NMI’s Chipper 3X solution is a low-cost, easy-to-use, portable payment acceptance device that enables merchants to quickly and easily take payments via dip, tap, and swipe.
Index and Accessories
Your device bundle includes:
- 1 BBPOS Chipper 3X device
- 1 USB-A to USB-C cable
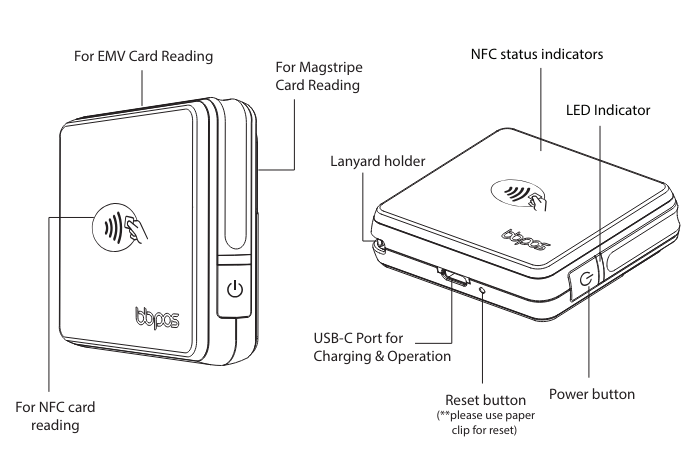
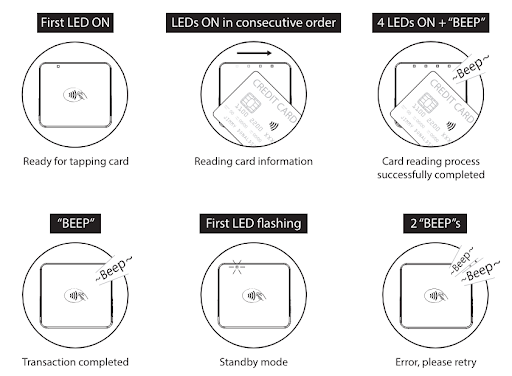
NFC Status Indicators
Connecting the Device via Bluetooth - Android
The Chipper 3X should be charged for two to three hours before the first use. After charging the device, follow the pairing instructions below:
-
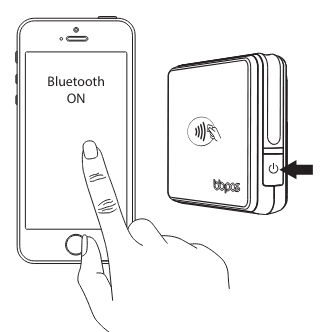
Enable the Bluetooth device search function on the host device (smartphone or tablet).
-
Press and hold black POWER button on the side of the card reader to power it on.
-
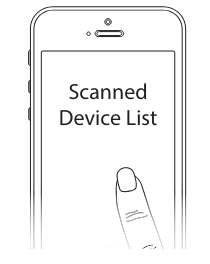
Find the Bluetooth BBPOS device on the host smartphone or tablet and select Pair.
-
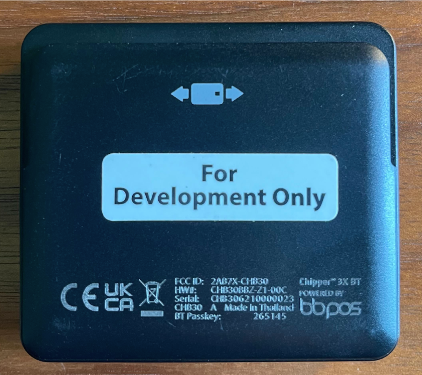
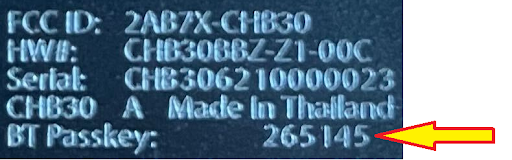
Enter the password for pairing. The password is listed on the back of the device, labelled ‘BT Passkey’.


- Your device is now connected and ready to take payments.
Connecting the Device via Bluetooth - iOS
Unlike Android, iOS does not support Bluetooth connectivity via the iOS device settings. In order to connect to the Chipper 3X via Bluetooth with your iOS device, you must use an accompanying payment application such as iProcess.
-
Press and hold black POWER button on the side of the card reader to power it on.

-
Log in to the NMI iProcess application for iOS using your mobile phone.
-
If this is your first time loading the application, simply follow the instructions to set up a new card reader. Otherwise, click on the card symbol in the upper right corner and select your BBPOS Chipper 3X device.

-
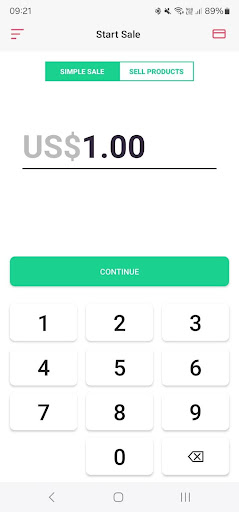
Initiate a transaction by entering an amount and selecting ‘Continue’ on the Start Sale screen.
-
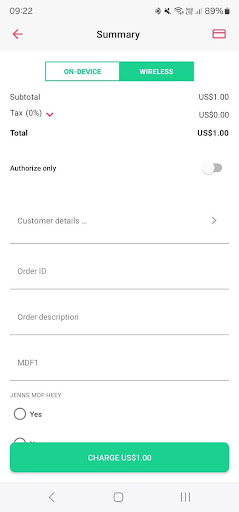
Select ‘Wireless’ at the top of the Summary screen, and then select the ‘Charge’ button at the bottom of the screen.
-
Your device will now connect to the Chipper 3X device and you will be prompted to enter a pairing PIN. Enter the password for pairing. The password is listed on the back of the device, labelled ‘BT Passkey’
- Your device will now be connected and will continue with the transaction. Please note: there is a short timeout window for this process, so you may be required to reattempt the transaction after PIN pairing is complete.
- Your device is now connected and ready to take payments.
Updated 5 months ago